
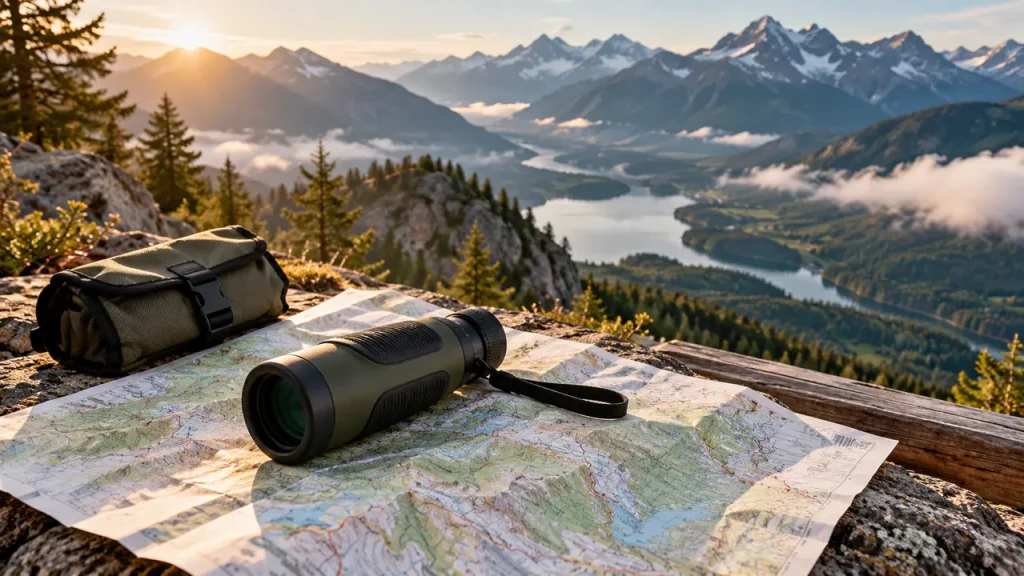
For general handheld use, start by comparing 6x to 8x.
There is no single best magnification for every monocular. For an ordinary optical monocular carried while walking, traveling, or watching nearby activity, 6x to 8x is a useful starting range to compare. A steady image and an easy-to-find subject often matter more than the largest number on the body. Someone observing a stationary distant subject from support may reasonably prefer more power.
Thermal monoculars need a separate comparison. Their base magnification, sensor resolution, lens, and digital zoom interact differently from the specifications of a conventional glass monocular. An optical 8x instrument and a thermal viewer advertising 8x digital zoom are not equivalent. Begin with the technology you need, then decide how much enlargement is useful at your normal viewing distance.
What the numbers on an optical monocular mean
A label such as 8×25 usually describes magnification first and objective diameter second. The 8x figure means the instrument makes a distant subject subtend approximately eight times its unaided angular size. The 25 describes a 25mm objective lens. It does not mean a 25x zoom or a guarantee of image brightness.
People often describe magnification as making an object appear “closer.” That is convenient shorthand, but the instrument has not changed the physical distance or removed haze between you and the subject. It enlarges the view. If the atmosphere obscures fine details, more enlargement may simply make the same blurred information larger.
For a zoom instrument, check whether the listed range is genuinely optical and what happens to field of view, brightness, and image quality across that range. The longest zoom setting is not automatically the best setting to use.
Why more power can make observation harder
Every small movement of your hands also moves the magnified view. As power increases, that movement can become more distracting, particularly after walking, in wind, or during a long observation. A larger image that you cannot hold still may reveal less usable detail than a smaller stable one.
Finding a subject can also become harder when the visible field is narrow. You may raise the monocular, see an unfamiliar patch of background, and spend time searching again. This matters with birds, moving wildlife, and sporting events, where the subject does not wait for you to settle the instrument.
None of that makes higher power inherently poor. It means power is a trade-off. A railing, seated position, monopod, or compatible tripod can change the balance. Test the instrument the way you will actually use it rather than judging it only while braced at a shop counter.
Field of view: compare coverage, not just magnification
Field of view describes how much of the scene the instrument shows. Manufacturers may state it as an angle or as a width at a given distance. Compare like with like: a width at 1,000 yards is not directly the same number as a width at 1,000 meters, and neither should be confused with an apparent-field figure.
Higher magnification often accompanies a narrower true field, but actual coverage also depends on the optical design. Do not assume every 8x model is equally wide or that an instrument’s field can be predicted from magnification alone. Read the published field specification.
For nearby moving subjects, extra coverage can save more time than additional enlargement. For a fixed distant landmark, the wider context may matter less. Think of field of view as the area you can inspect at once, rather than a secondary number to skip in the listing.
Exit pupil and low-light optical viewing
For a simple optical comparison, divide objective diameter by magnification to estimate exit-pupil diameter. An 8×25 model gives about 3.1mm, while an 8×42 model gives about 5.25mm. This is an optical relationship, not a complete brightness score for the finished instrument.
The usefulness of the exit pupil depends on your eye, ambient light, transmission, coatings, and how well you position the instrument. A larger exit pupil may make alignment more forgiving and can be useful in dim conditions, but it also usually comes with a larger objective and more weight.
Avoid the rule that low magnification always means a brighter view. Comparing different objective sizes or different-quality optics makes that shortcut unreliable. A monocular with better transmission and a suitable exit pupil may be more useful than one chosen solely for a lower power number.
Choose a range around the activity
For travel and quick nearby checks, compare modest power and easy handling first. You are more likely to use a monocular that sits comfortably in a pocket, comes to focus quickly, and gives a stable picture. A large high-power instrument may stay in the bag when you need a brief look.
For birdwatching or wildlife observation, compare 8x and 10x while following moving subjects. Neither is universally correct. The extra reach of 10x may be useful in open country, while a steadier, wider view may be easier in woodland or at shorter distances.
For a sporting event, think about the area of play you want to follow, not just the distance to your seat. For distant stationary details, compare higher power only after planning support. For casual astronomy, do not assume “12x or more” is a requirement; stability, aperture, field, and the objects you want to observe all matter.
Thermal magnification follows a different set of trade-offs
A thermal monocular forms its image with an infrared detector, processor, and display. Base magnification describes the view at the starting setting. Digital zoom generally enlarges or crops the captured image. It does not add new detector pixels or automatically resolve a feature that was too small in the original capture.
That makes the sensor and lens essential to the comparison. Two thermal viewers can advertise the same maximum magnification yet provide different detail and coverage. One may begin with a higher-resolution detector, while another reaches its headline number mostly through digital enlargement.
Read the specifications as a system: detector resolution, lens focal length, base magnification, field of view, and display. If a listing only promotes “8x zoom,” ask whether that is a digital multiplier, a total viewing range, or a base optical figure. Those are different descriptions.
Base magnification versus maximum digital zoom
A low base magnification can be convenient when scanning nearby ground because it preserves more context, depending on the design. Higher base magnification may put a distant subject across more of the available view, but can make nearby scanning and subject acquisition more demanding. Our guide to viewing distance and coverage applies these trade-offs to a practical shortlist.
Suppose a thermal device has a 2x base view and offers digital enlargement through a 2–8x overall range. The final setting is not the same thing as an optical 8x instrument with unlimited image detail. It is a presentation of the information the detector and lens already captured.
For a practical comparison, begin both thermal viewers at their native settings and inspect footage at the same subject distance. Only then consider how useful their enlarged views are. Our coyote-observation buying guide discusses why published detection distance does not establish identification distance.
Details that matter when you wear glasses
Eye relief describes how far your eye can sit from the eyepiece while still seeing the intended field. If you wear glasses, insufficient usable eye relief can crop the view or force an uncomfortable position. Published numbers are useful, but a hands-on fit check is even better because eyecup shape and frame geometry vary.
Check whether the eyecup adjusts and whether the focusing control is comfortable with one hand. A beautifully specified 10x monocular may be less useful than an 8x alternative if you cannot keep your eye aligned. With a thermal display, also check eyepiece focus separately from objective focus where both adjustments are provided.
Do not use magnification to compensate for an incorrectly focused eyepiece. Establish a comfortable, properly focused view before deciding whether you need more power.
A buying test you can repeat
First, identify your normal distance and subject. “Wildlife” is too broad if one outing means nearby woodland birds and another means a distant field. Second, decide whether you will normally stand unsupported, sit, or use a mount. That determines how much steadiness you can reasonably expect.
Third, compare field of view and focusing behavior at your likely working distance. Try locating a subject from scratch rather than leaving the monocular already aligned. Fourth, inspect the whole package: size, weight, eye relief, weather rating, controls, and return policy.
Finally, choose the lowest enlargement that comfortably delivers the detail you need in those conditions. You can move up in power if you have a clear reason. Buying the highest magnification first and hoping everything else follows is the less reliable route.
The practical answer
For a conventional handheld monocular, compare a manageable general-purpose range before reaching for high power. For thermal viewing, select the sensor-and-lens combination around your scanning distance, then treat digital zoom as a viewing aid rather than a source of new detail.
Your best choice is the instrument that lets you find, hold, and interpret the subject consistently. A stable picture with enough surrounding context is often more useful than a dramatic magnification claim. If you cannot explain what extra power will help you see, prioritize better optics, easier handling, or more suitable coverage instead.
Related guides
For the electronic imaging side, read our thermal monocular introduction.
For a practical equipment comparison, see thermal monoculars for coyote observation.
Sources
Technical explanations were checked against Nikon: choosing by specifications; Nikon: first-time binocular selection; Edmund Optics: telescope optics. Practical examples and buying advice are explanatory, not claims of measured field testing.