
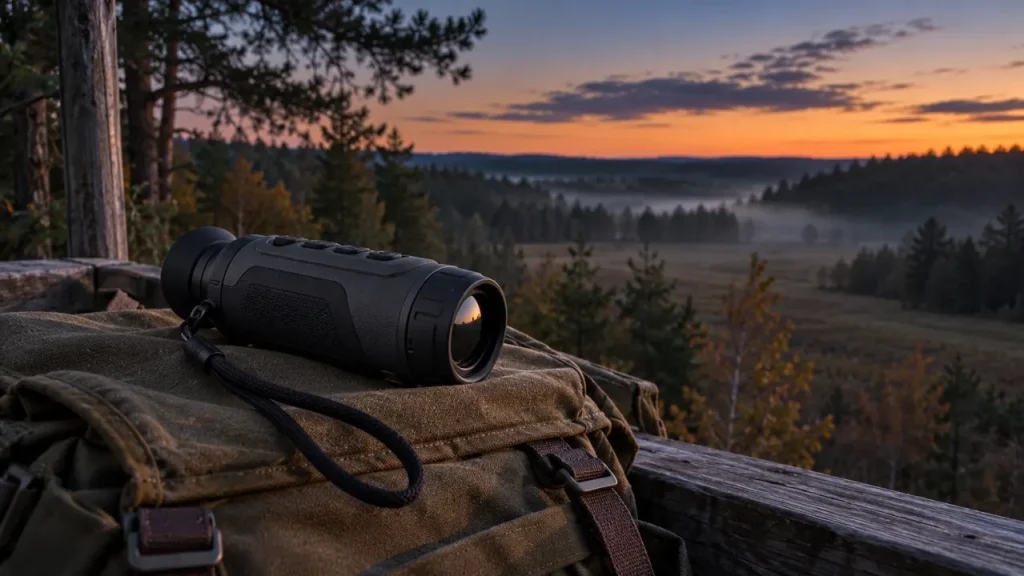
A handheld way to view differences your eyes cannot see.
A thermal monocular is a single-eyepiece instrument that detects infrared radiation and presents the resulting thermal pattern on a small display. It can help you notice people, animals, or other objects when their apparent radiation differs from the background. Unlike an ordinary optical monocular, it does not show the scene simply by passing visible light through lenses to your eye.
Think of it as a handheld thermal camera with an eyepiece arranged for observation. The useful output is a picture of contrast, shape, and movement. It is not a guarantee that every subject will stand out, that distant animals can always be identified, or that solid obstacles become transparent.
This beginner’s guide explains the parts, the viewing process, and the limits that matter before you choose or use one. For a deeper explanation of infrared bands and other IR devices, see the separate infrared guide. The history of thermal monoculars explains how the detectors, optics, and electronics developed.
The five main parts of the instrument
The objective lens collects radiation in the band the detector is designed to sense. Thermal optics use materials and coatings appropriate to that band. The front objective should not be assumed to behave like the visible-light glass in an ordinary monocular.
The detector samples the incoming pattern across an array of sensing elements. Readout electronics turn the detector responses into signals that can be processed. The processor then adjusts and maps those signals into a view suitable for the display.
The eyepiece lets you inspect that display comfortably, while the housing, controls, battery, seals, and connectors make the system usable outdoors. Each part matters. A high-resolution detector paired with unsuitable optics or poor handling is not automatically a better observation tool than a more balanced design.
What happens when you look at a scene?
Imagine a small animal standing beside a hedge on a cool evening. Radiation from the exposed animal and surrounding surfaces reaches the objective. The instrument produces an image from the differences in the signal across its detector. If the contrast and available detail are sufficient, you may notice the animal’s shape or movement.
The display can show that information in grayscale or a false-color palette. Those colors are a presentation choice, not the animal’s actual visible color. A warm-looking region might be white in one palette and dark in another.
Now move the same animal farther away or place most of it behind dense vegetation. It occupies fewer detector pixels or becomes partly hidden. Digital enlargement may make the existing shape larger, but it does not uncover missing parts or produce detail that never reached the detector.
Sensor resolution and display resolution are different
Detector resolution describes the number of sensing elements used to sample the thermal scene. Display resolution describes the screen presenting the processed image. Exported photo dimensions are another figure again. Listings sometimes emphasize whichever number looks largest, so read the labels carefully.
More detector pixels can support additional detail when the rest of the system and scene allow it. However, comparing only total pixels ignores the lens and field of view. Two devices can spread their pixels across different amounts of ground, giving different target scales at the same distance.
A practical comparison asks how many useful details you can resolve at the distance that matters to you. Look for demonstrations naming the exact model, distance, weather, and zoom setting. An enlarged sample with no context is weak evidence of real observation capability.
Sensitivity, refresh rate, and calibration
Thermal sensitivity describes an aspect of the system’s ability to distinguish small signal differences against noise. Specifications often use NETD or a related label, but the measurement conditions and whether the figure describes a sensor or a complete system matter. Do not reduce image quality to one sensitivity number.
Refresh rate describes how frequently the view updates. It can affect the appearance of motion, but a high rate does not by itself provide more spatial detail. A smooth blurry shape remains a smooth blurry shape if the optics and detector cannot resolve the features you need.
Calibration or non-uniformity correction helps manage differences within the imaging system. Some devices briefly interrupt the image while making a correction. Follow the instructions for automatic, semi-automatic, or manual modes rather than assuming every pause or shutter sound indicates a fault.
Why the image changes with conditions
A thermal picture depends on the subject, its surroundings, and the path between them. Sun-warmed ground can create a busier background than a cool shaded scene. Rain, fog, humidity, and similar apparent temperatures can reduce useful contrast. These effects are part of the viewing conditions, not proof that thermal imaging works only at night.
Surface properties matter too. A reflective object can show a pattern influenced by radiation from its surroundings. This is one reason a thermal image is not always a straightforward map of each surface’s own temperature.
Focus and viewing angle can also change what you interpret. Before blaming a specification, check the objective focus, eyepiece setup, calibration guidance, distance, and scene. Our daylight guide covers daytime backgrounds and sun exposure in more detail.
Detection is the beginning of observation
Detection means noticing something. Recognition means resolving enough information to place it in a broad category. Identification requires enough reliable detail to establish what the subject is. These are useful distinctions because advertising often highlights the longest detection figure without explaining the later stages. For a fuller explanation, read thermal detection versus identification.
A manufacturer may rate detection using a specified target size under particular conditions. A different animal, poorer contrast, or intervening vegetation can produce a different result. The quoted distance is not a universal identification limit and should not be treated as a safe decision-making distance.
For wildlife observation, use the thermal monocular to direct attention and then confirm uncertain subjects through suitable observation. Shape, behavior, location, and another view may all help. If the details remain unclear, enlargement and confidence are not substitutes for evidence.
What it does not see through
A thermal monocular is not an X-ray device. Solid walls, tree trunks, and dense foliage can block the radiation from a subject behind them. You may see exposed parts through gaps without seeing enough to understand the whole subject or background.
Ordinary window glass creates another common misunderstanding for long-wave thermal viewers. Instead of a transparent view into the space beyond, you may see the glass surface and reflections. Seeing a thermal patch on a window does not establish what is behind it.
Smoke and fog also require qualification. Thermal imaging can be useful in some obscured conditions, but performance depends on the material, density, operating band, and task. Avoid buying on the assumption that “thermal” means unrestricted visibility through any obscurant.
Observation is not the same as accurate temperature measurement
Some thermal cameras are designed for quantitative temperature work, while many monoculars are intended primarily for viewing. A picture that reveals contrast does not automatically establish accurate temperatures for distant surfaces. Measurement requires an appropriate instrument, settings, target conditions, and method.
Emissivity, reflections, focus, target size, distance, and the atmosphere can influence interpretation. A displayed temperature value should therefore be evaluated against the manufacturer’s stated measurement capability and limitations. A color palette alone is not a calibrated thermometer.
Keep your intended use specific. Checking for wildlife is different from diagnosing a machine, inspecting electrical equipment, or evaluating a person’s health. Do not assume an outdoor viewer is approved or suitable for specialist measurement simply because all of those applications can involve thermal imaging.
A first-use routine that makes the view easier to understand
Start in a familiar location with enough normal visibility to recognize the scene. Read the manual, charge the correct battery, and check the cap, controls, connectors, and weather limits. Observe known objects at several distances so you can compare the thermal picture with what you already understand.
Adjust the eyepiece for the display, then focus the objective where the model provides that control. Begin at the base magnification. Try a simple palette and make one change at a time, rather than changing zoom, contrast, and palette together.
Keep the objective away from the sun and other intense sources as instructed by the manufacturer. Pause to scan instead of walking with the display as your only view. Thermal contrast does not reveal every hazard, and the narrow electronic view does not replace ordinary awareness of the ground around you.
How to decide whether you need one
Describe the task before comparing products. Do you want to notice nearby wildlife, inspect a familiar area, or study subjects across open ground? How much identifying detail is essential? Will you carry the viewer constantly, use it briefly, or spend long sessions observing from one position?
Then compare detector resolution, lens and field of view, handling, power arrangement, weather protection, recording, and support. Treat the price of a spare battery or charger as part of the package when those items matter. If you need only a visible close-up in good light, a conventional optical monocular may be the simpler choice.
A thermal monocular earns its place when radiation contrast helps answer your observation question. Understanding its limits is as important as enjoying the ability to notice things in darkness. Choose a model that supplies useful information in your conditions, rather than the one with the boldest promise.
Related guides
For the wavelength distinction, read whether thermal monoculars are infrared.
Before shopping, compare the trade-offs in our budget thermal monocular guide.
Sources
Technical explanations were checked against FLIR: thermal camera fundamentals; FLIR OEM: choosing an imager; FLIR: visibility through materials; FLIR: calibration and measurement. Practical examples and buying advice are explanatory, not claims of measured field testing.