
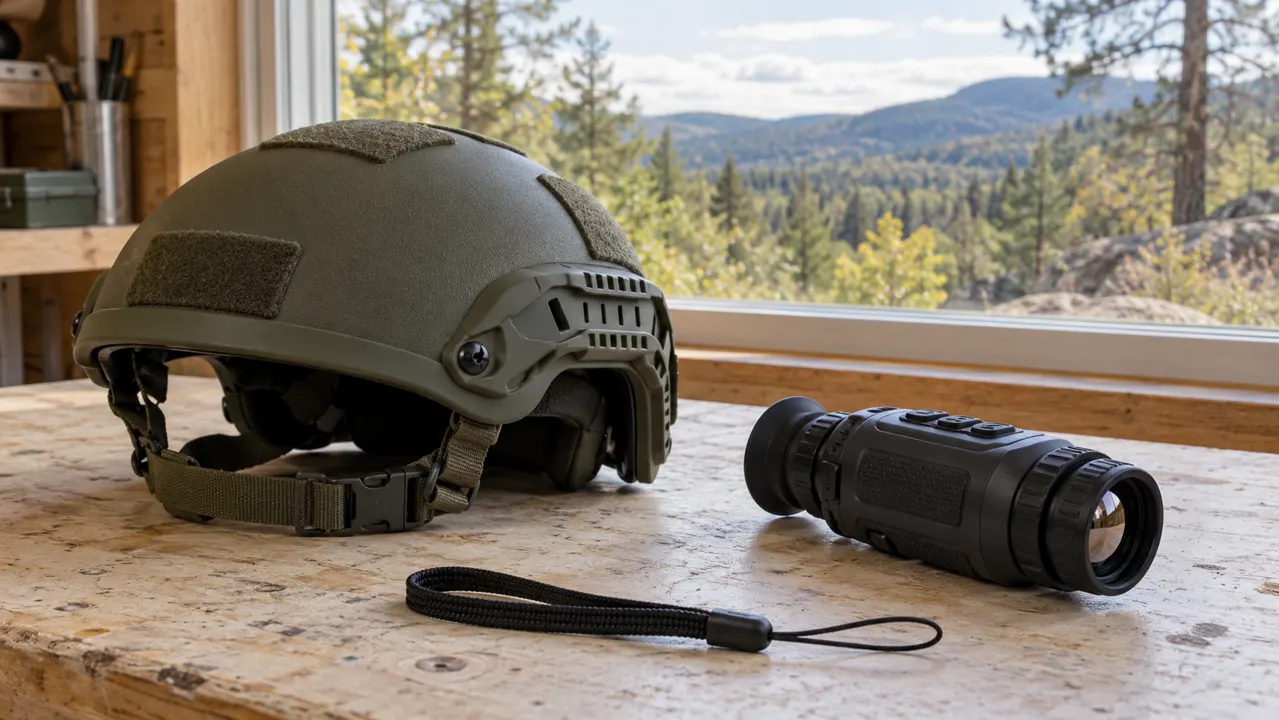
Choosing between a helmet-mounted and handheld thermal monocular is largely a decision about how you observe. A helmet setup can hold a compatible viewer at your eye during a stationary session. A handheld scanner can be raised when needed, lowered immediately, and shared without adjusting headgear. Neither arrangement automatically produces more image detail; each changes the way the equipment fits into your routine.
This guide compares complete observation setups rather than assuming every small monocular can be worn. It explains where mounting support, comfort, controls, and total cost affect the choice. Once you understand those trade-offs, our helmet thermal monocular buying guide provides the related product discussion.
Begin with the length and frequency of your scans
Picture a typical outing. Do you stop at a gate, inspect a field for a minute, and put the viewer away? Or do you watch one area for a sustained period? Occasional checks make a strong case for keeping the equipment simple. A stationary observer may place greater value on reducing the time spent holding a device at eye level.
Also consider what happens between scans. A handheld viewer needs an accessible carrying arrangement. A wearable system remains attached to your headgear until it is removed or repositioned. Both arrangements can be inconvenient if they conflict with the other things you carry or the way you normally move between observation points.
Count actual observation time rather than the duration of the whole trip. Spending three hours outdoors does not necessarily mean looking through the monocular for three hours. That distinction can prevent an expensive mounting system from solving a problem you rarely encounter.
Confirm a documented mounting path first
A threaded socket, a compact housing, or a third-party photograph does not establish a complete manufacturer-supported helmet arrangement. Compatibility involves the viewer interface, adapter, mount, helmet attachment, adjustment range, and the way the system is intended to be used. Each connection needs an appropriate, documented role.
For example, the ATN Odin LT manual describes optional head/helmet use for stationary observation. ATN also lists an adjustable helmet mount accessory. These provide a specific starting point for checking an Odin installation; they do not establish compatibility for unrelated handheld viewers.
Ask a seller to identify the complete parts list in writing. Confirm which pieces are included and which are separate purchases. If the proposed arrangement depends on an improvised fitting, unresolved alignment, or an undocumented adapter chain, that uncertainty belongs in the decision before you pay.
Compare the full weight and where it sits
The monocular’s published weight is only one part of a wearable system. Add its ready-to-use battery, adapter, mount, and any other required components. For handheld use, compare the weight you actually raise and hold rather than a bare-body specification that excludes power.
Placement matters as well as the total. Equipment held in front of your forehead changes the feel of a helmet. A stable, comfortable fit cannot be inferred from the monocular being described as lightweight. Try the whole arrangement for a representative observation session when a demonstration is available.
Do not add extra accessories reflexively to correct an unsuitable fit. Each addition changes bulk, cost, and handling. If repeated adjustments still leave pressure or strain, a handheld arrangement may be the better answer. Comfort is a requirement to assess, not a weakness to ignore because the setup looks convenient in a photograph.
Check eyepiece alignment with your normal equipment
A usable image requires the eyepiece to reach a comfortable position. Height, sideways travel, and distance from your eye all matter. Glasses, winter headwear, and the shape of the helmet can change how those adjustments work together. A mount that suits another observer is not proof of an equally good fit for you.
During a fit check, confirm that you can see the display comfortably without forcing your neck into a particular angle. Look away and return to the view several times. Notice whether the eyepiece repeatedly needs repositioning or whether ordinary head movement causes the helmet to shift.
A handheld viewer gives you direct freedom to change its position, but that does not eliminate eyepiece comfort questions. Check the adjustment range and eye position on either type. The useful comparison is how readily you obtain a clear, comfortable view throughout an observation session.
Consider controls before promising hands-free convenience
Mounting a device does not mean every operation becomes hands-free. Power, focus, brightness, image settings, and battery changes may still require attention. Their location can be convenient when the device is in your hand and awkward when it is attached beside your face.
Check which controls you can identify by touch while stationary. Try your usual gloves if appropriate. Find out whether an adjustment changes the alignment, whether a cover blocks access, and whether the manufacturer provides a particular operating sequence for mounted use. These are practical questions a product photograph cannot answer.
For handheld observation, assess one-handed use and how easily the viewer can be lowered without losing your grip. A straightforward control layout may matter more than a long feature list. Choose the operating arrangement that helps you concentrate on the scene instead of repeatedly searching for a button.
Keep thermal observation separate from normal route finding
A thermal image presents a limited view of thermal differences. It does not reproduce every surface, obstacle, or depth cue available to normal vision. Mounting the display at eye level does not remove those limits. An arrangement intended for stationary observation should be used on that basis.
Plan to stop and scan, then use suitable normal vision and lighting when moving. Check how the viewer is moved clear of your eye according to its instructions. Make that movement while standing in a familiar location before depending on it during an outing.
The important buying question is whether the system lets you transition comfortably between observing and looking normally. A quick transition can be useful, but it should not be confused with a claim that walking through an enlarged thermal display is equivalent to ordinary sight. Our thermal monocular fundamentals explain the underlying viewing limits.
Decide whether sharing and portability matter
A handheld scanner is easy to pass between observers who want to compare the same scene. Each person can adjust the eyepiece as necessary and return it without changing a helmet installation. This can be useful for family wildlife watching or for discussing an uncertain sighting.
A mounted viewer is more personal to the wearer’s fit and adjustment. Sharing may require removing it, changing the setup, or using recording features if the particular device supports them. Think about whether shared observation is an ordinary part of your use or an occasional exception.
Storage is another practical difference. A monocular in a pouch may fit equipment you already carry. A complete helmet system needs protection for its fittings and enough space to avoid pressure on protruding parts. Compare the equipment at the beginning and end of the trip, not only during the moment when you are looking through it.
Plan power without creating an awkward installation
Begin with the power arrangement approved for the specific device. Battery type, replacement procedure, and compatible charging accessories vary. Do not assume an electrical connector or battery pack is suitable merely because it physically fits.
For a removable battery, check whether changing it requires removing the viewer or disturbing its alignment. For an internal battery, compare the realistic session length and charging procedure. If an external supply is supported, consider how it would be carried and whether its cable interferes with the intended adjustments.
Avoid comparing quoted runtimes as though every manufacturer used identical conditions. Wireless use, recording, temperature, and battery condition may affect results. The best arrangement is one you can operate and replenish reliably, rather than the one with the largest isolated runtime figure.
Compare two complete prices
Write down the handheld cost and the full mounted cost separately. Include required fittings, compatible power accessories, protection, and anything else that must be purchased to obtain the intended arrangement. A low viewer price can become a substantially different purchase once a mount and adapter are included.
Then ask what the extra cost buys in your routine. Reducing arm fatigue during regular stationary sessions may justify it. If you mostly make short checks, the same money might be more useful elsewhere in the equipment budget. Treat this as a suitability decision rather than a contest to assemble the most elaborate system.
If spending is the main constraint, our budget thermal monocular guide can help frame the product comparison. Keep the mounting decision separate from any claim that a more expensive installation improves the detector’s captured detail.
Run a practical fit demonstration
Bring your ordinary glasses, gloves, and relevant headwear. Confirm the exact device and mounting parts before starting. Adjust the installation according to its instructions and check whether the viewer can be positioned without making the helmet unstable. Look at a familiar scene from a stationary position.
Repeat the actions that matter: raise or position the view, focus where applicable, change a common setting, look away, and move the device clear. Check whether you can return to the same comfortable alignment. If the demonstration lasts only a few moments, ask for enough time to judge pressure and handling more realistically.
Finish by packing the equipment away and checking the parts you would remove for storage or transport. A system is easier to live with when its everyday assembly and protection make sense. Note unresolved fit or compatibility questions before a return period expires.
Choose the arrangement that supports your observation habit
Prefer handheld use when scans are brief, portability matters, or several people share the viewer. Consider a documented helmet arrangement when sustained stationary observation creates a clear need and the complete installation fits comfortably. In either case, buy the exact configuration you have checked.
Use our helmet buying guide for the related model discussion. The right setup is the one you can position, operate, power, and put away comfortably throughout your usual outing.